ADVERTISEMENT
My mother-in-law shared her DIY Miracle Cleaner recipe for greasy cabinets and countertops. It truly works wonders!
To make the cleaner, start by pouring 1 cup of white vinegar into a spray bottle. Next, add 2 tablespoons of baking soda. Be prepared for some fizzing as the vinegar and baking soda react. Once the fizzing subsides, add the juice of one lemon. Secure the lid on the spray bottle and shake gently to mix the ingredients.
It's important to ensure that the baking soda is fully dissolved to prevent any residue from being left on surfaces. If desired, you can add a few drops of your favorite essential oil for an extra burst of fragrance. This simple mixture is now ready to tackle even the toughest grease stains in your kitchen.
4. How to Apply the Cleaner for Best Results
To use the cleaner, start by spraying it generously onto the greasy surfaces of your cabinets and countertops. Allow it to sit for a few minutes to let the ingredients work their magic. This waiting period is crucial as it gives the cleaner time to break down the grease.
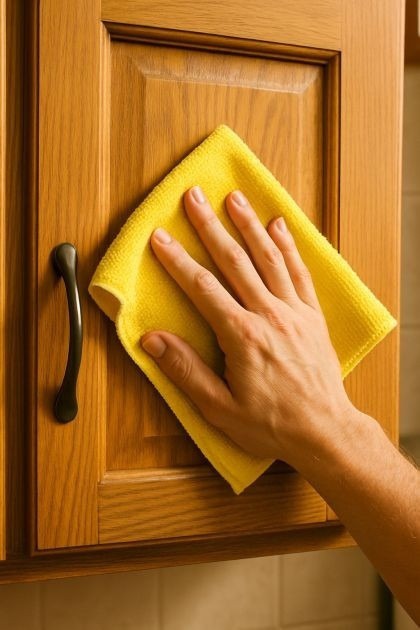
After a few minutes, use a soft cloth or sponge to wipe away the cleaner, applying gentle pressure to remove any stubborn spots. For particularly tough grease, you may need to repeat the process. Once the grease is removed, rinse the surfaces with a damp cloth to remove any remaining cleaner, and dry with a clean towel for a streak-free finish.
5. The Science Behind Its Effectiveness
The effectiveness of this DIY cleaner lies in the chemical reactions between its ingredients. The acetic acid in vinegar is a powerful solvent that can dissolve mineral deposits, dirt, and grease. When combined with baking soda, a mild alkali, it creates a fizzing reaction that helps to lift grime from surfaces.
Lemon juice, another acidic component, enhances this reaction and adds a natural antibacterial property, making it ideal for kitchen cleaning. The combination of these ingredients results in a potent cleaner that is both safe and effective for everyday use.
6. Cost Comparison: DIY Cleaner vs. Commercial Products
One of the biggest advantages of this DIY cleaner is its cost-effectiveness. A bottle of white vinegar, a box of baking soda, and a few lemons cost only a fraction of what you would spend on commercial cleaning products.
For example, a typical commercial kitchen cleaner can cost anywhere from $5 to $10 per bottle, whereas the ingredients for this DIY cleaner can be purchased for under $5 and will make multiple batches. This not only saves money but also reduces the need for frequent trips to the store.
7. Eco-Friendly Benefits of the DIY Cleaner
In addition to being cost-effective, this DIY cleaner is also environmentally friendly. By using natural ingredients, you reduce the amount of harmful chemicals released into the environment, which is a common issue with many commercial cleaners.
Furthermore, the use of reusable spray bottles and cloths minimizes waste, making this cleaner a sustainable choice for eco-conscious households. By choosing this DIY option, you're not only keeping your home clean but also contributing to a healthier planet.
8. Safety Precautions When Using Vinegar
While vinegar is a natural and safe cleaning agent, it's important to use it with caution. Avoid using vinegar on natural stone surfaces like granite or marble, as its acidity can etch and damage the stone.
Additionally, always test the cleaner on a small, inconspicuous area before applying it to the entire surface to ensure it doesn't cause any discoloration or damage. Keep the cleaner out of reach of children and pets, and label the spray bottle clearly to avoid any accidental ingestion.
